Thirsty Wings: How to Add a Pollinator Oasis to Your Garden

Thirsty Wings: How to Add a Pollinator Oasis to Your Garden

Summer is here, and with the rising temperatures, we all need to stay hydrated—including pollinators. These hardworking creatures are busy in your backyard, and being a good Midwestern neighbor means giving them a little help. One simple way? Offer a safe water source.

Adding a water feature to your balcony, patio, garden, or yard is an easy and effective way to support wildlife and help them thrive.

Why Pollinators Need Water

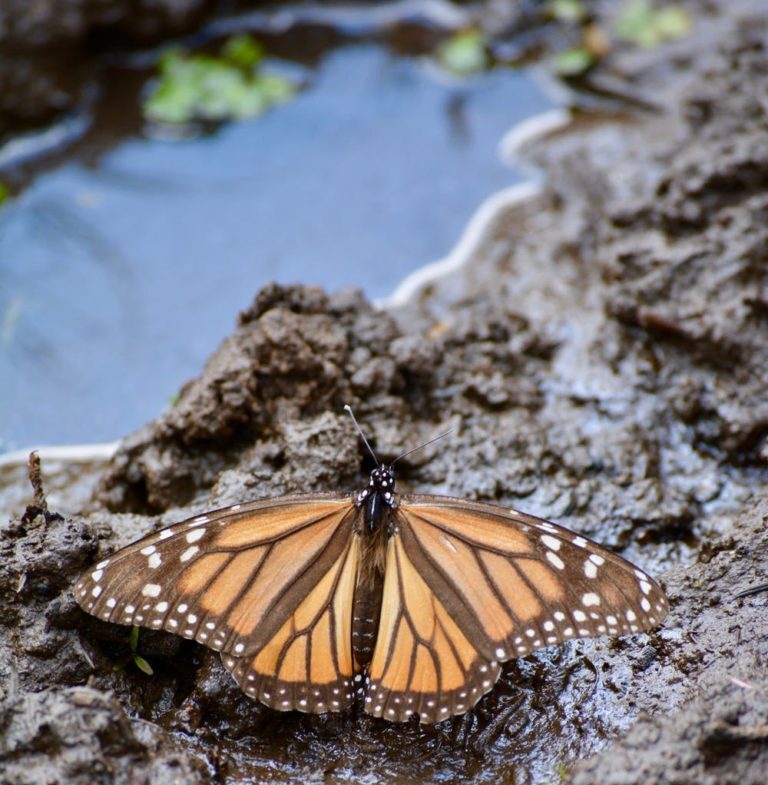
Bees, butterflies, and other invertebrates rely on water to stay hydrated—especially during hot, dry days. Social bees use water to regulate the temperature and humidity inside their hives. Butterflies and moths are often seen sipping from puddles, not just for hydration but also to absorb minerals and nutrients—a behavior known as puddling.

You may even notice small bees or butterflies landing on you to sip your sweat. They’re not just being curious—they’re searching for moisture, salt, and other nutrients. Bees also use water to dilute stored honey and aid in digestion.

What About Natural Water Sources?

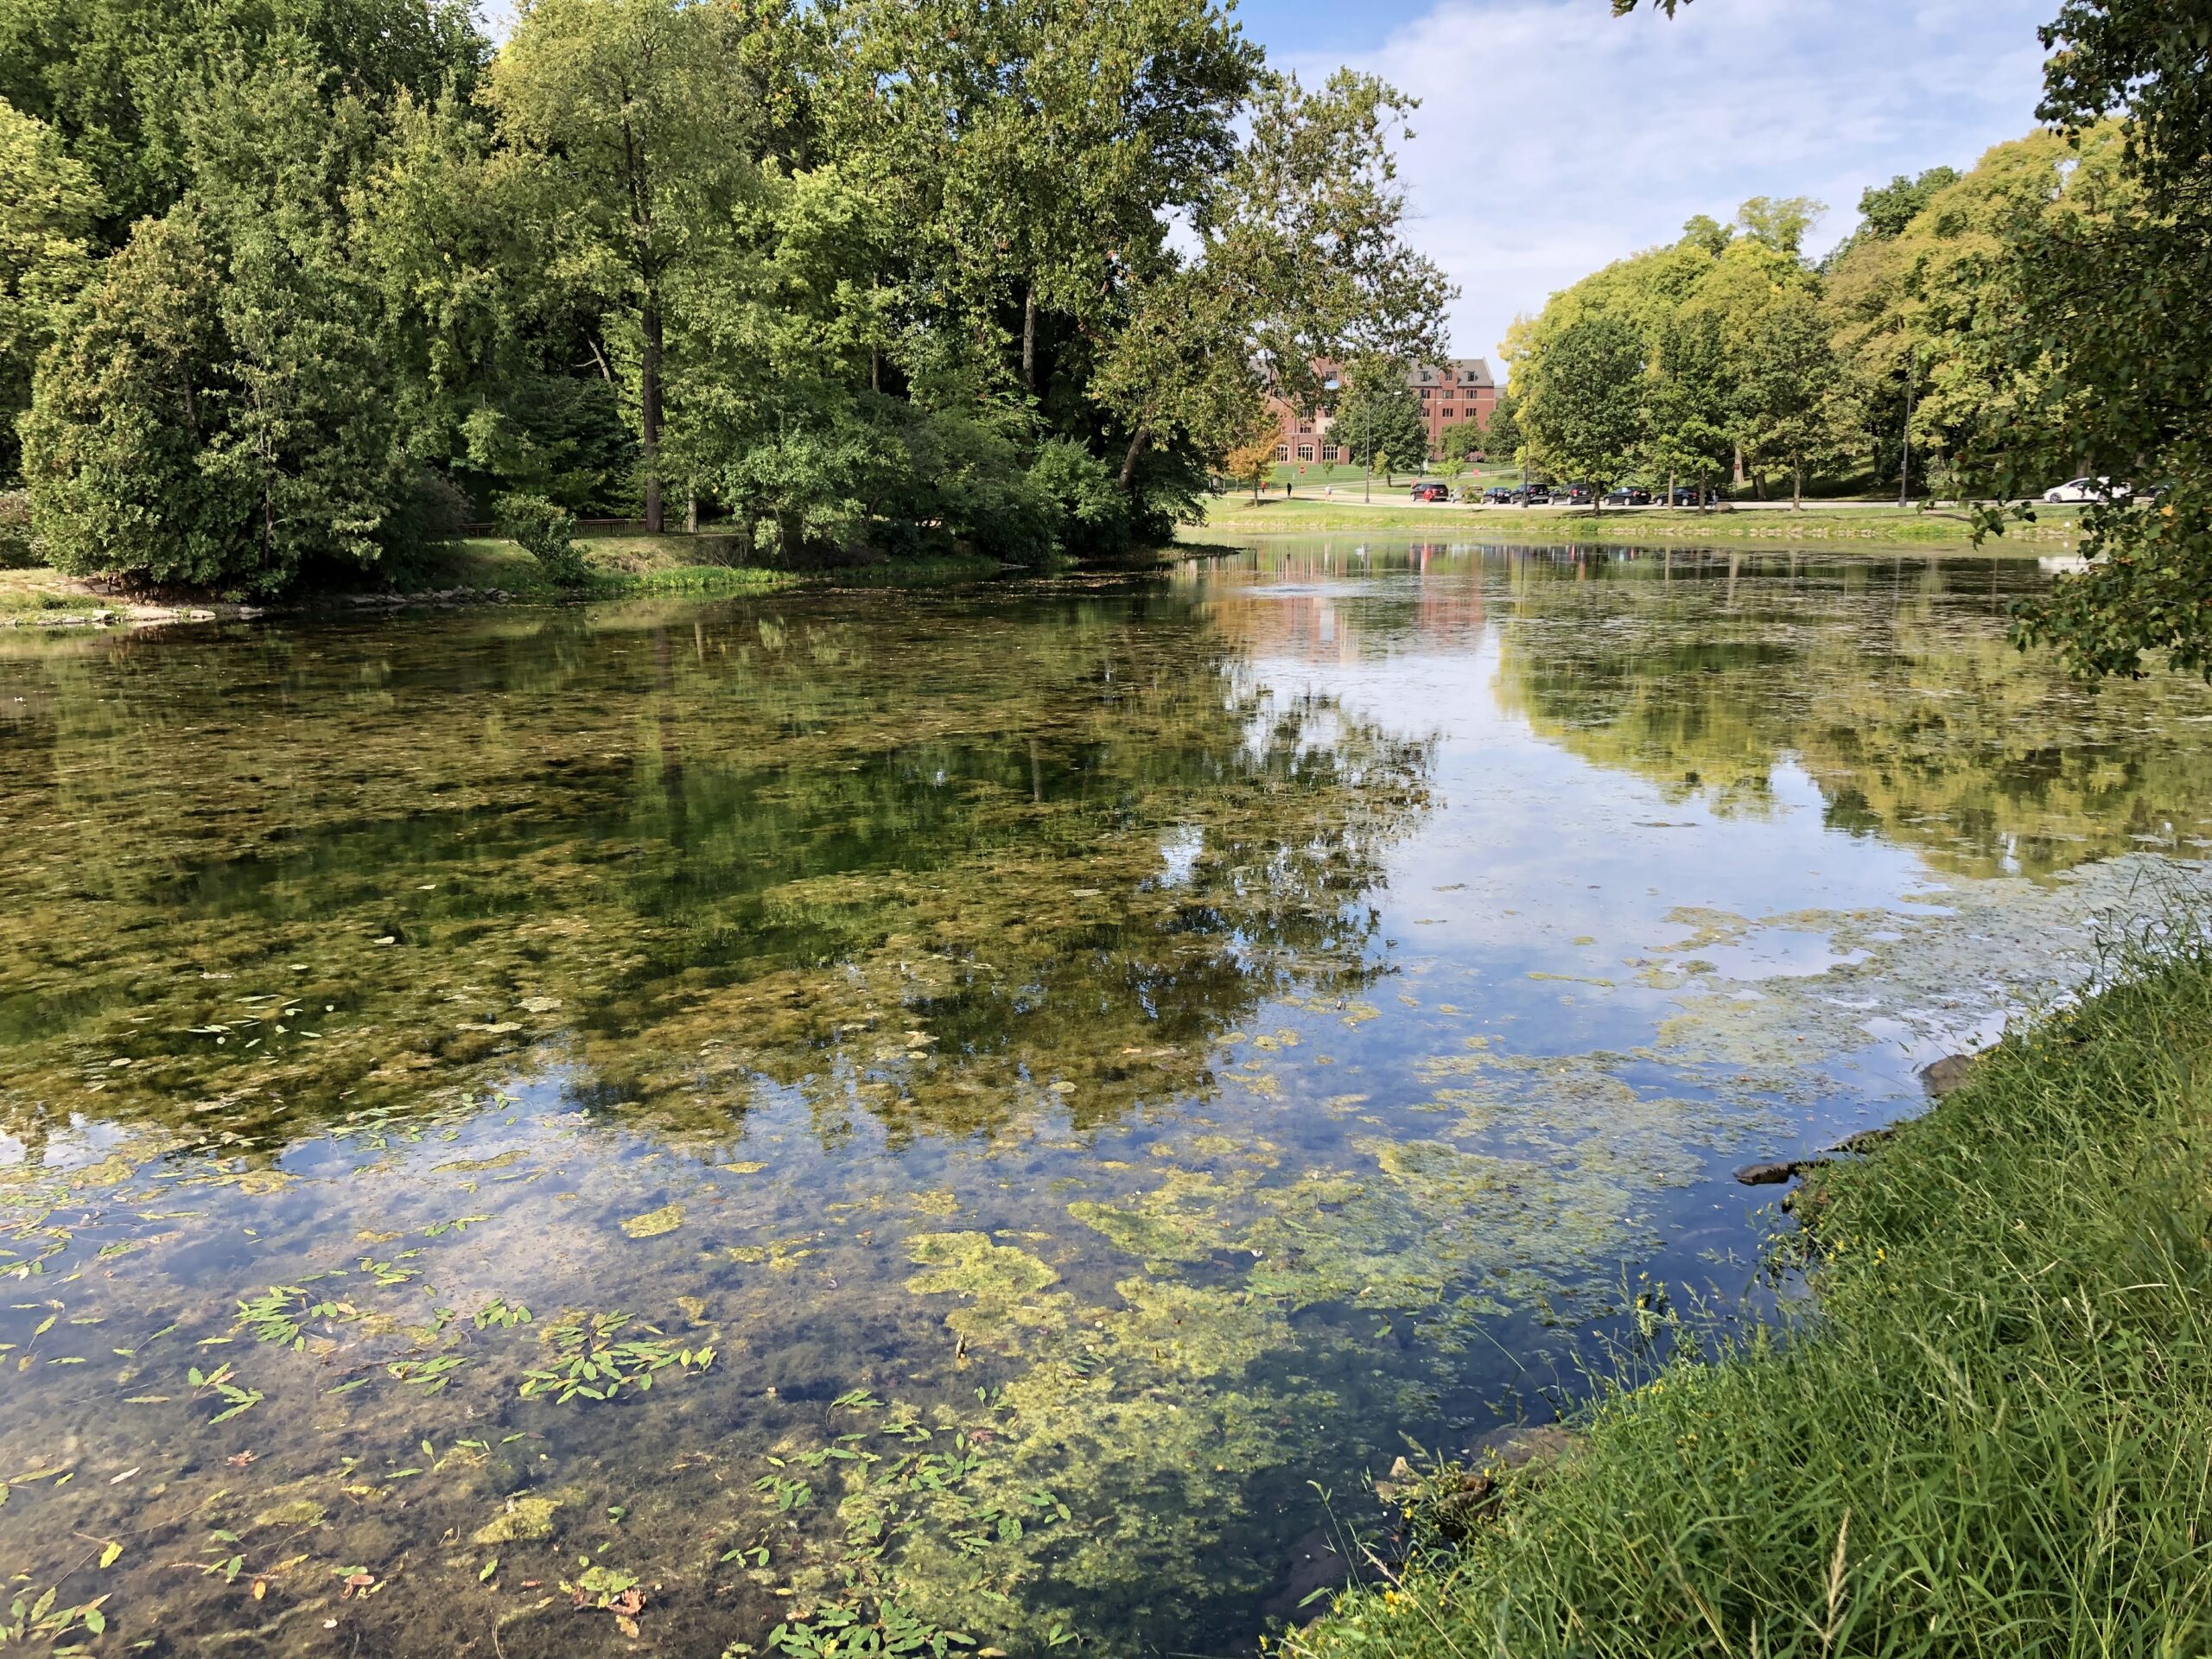
Sure, there are natural water sources like ponds and rivers, but for an insect, those look like vast oceans. A bee or butterfly venturing too close to a pond might get eaten by a fish—or drown if there’s no safe landing spot.

Historically, puddles and dewdrops served as safer alternatives. But today, many puddles contain runoff from roads and lawns, often contaminated with pesticides or other toxins. In cities, puddles evaporate quickly on hot concrete, and even moist soil is hard to come by.

What Can You Do?

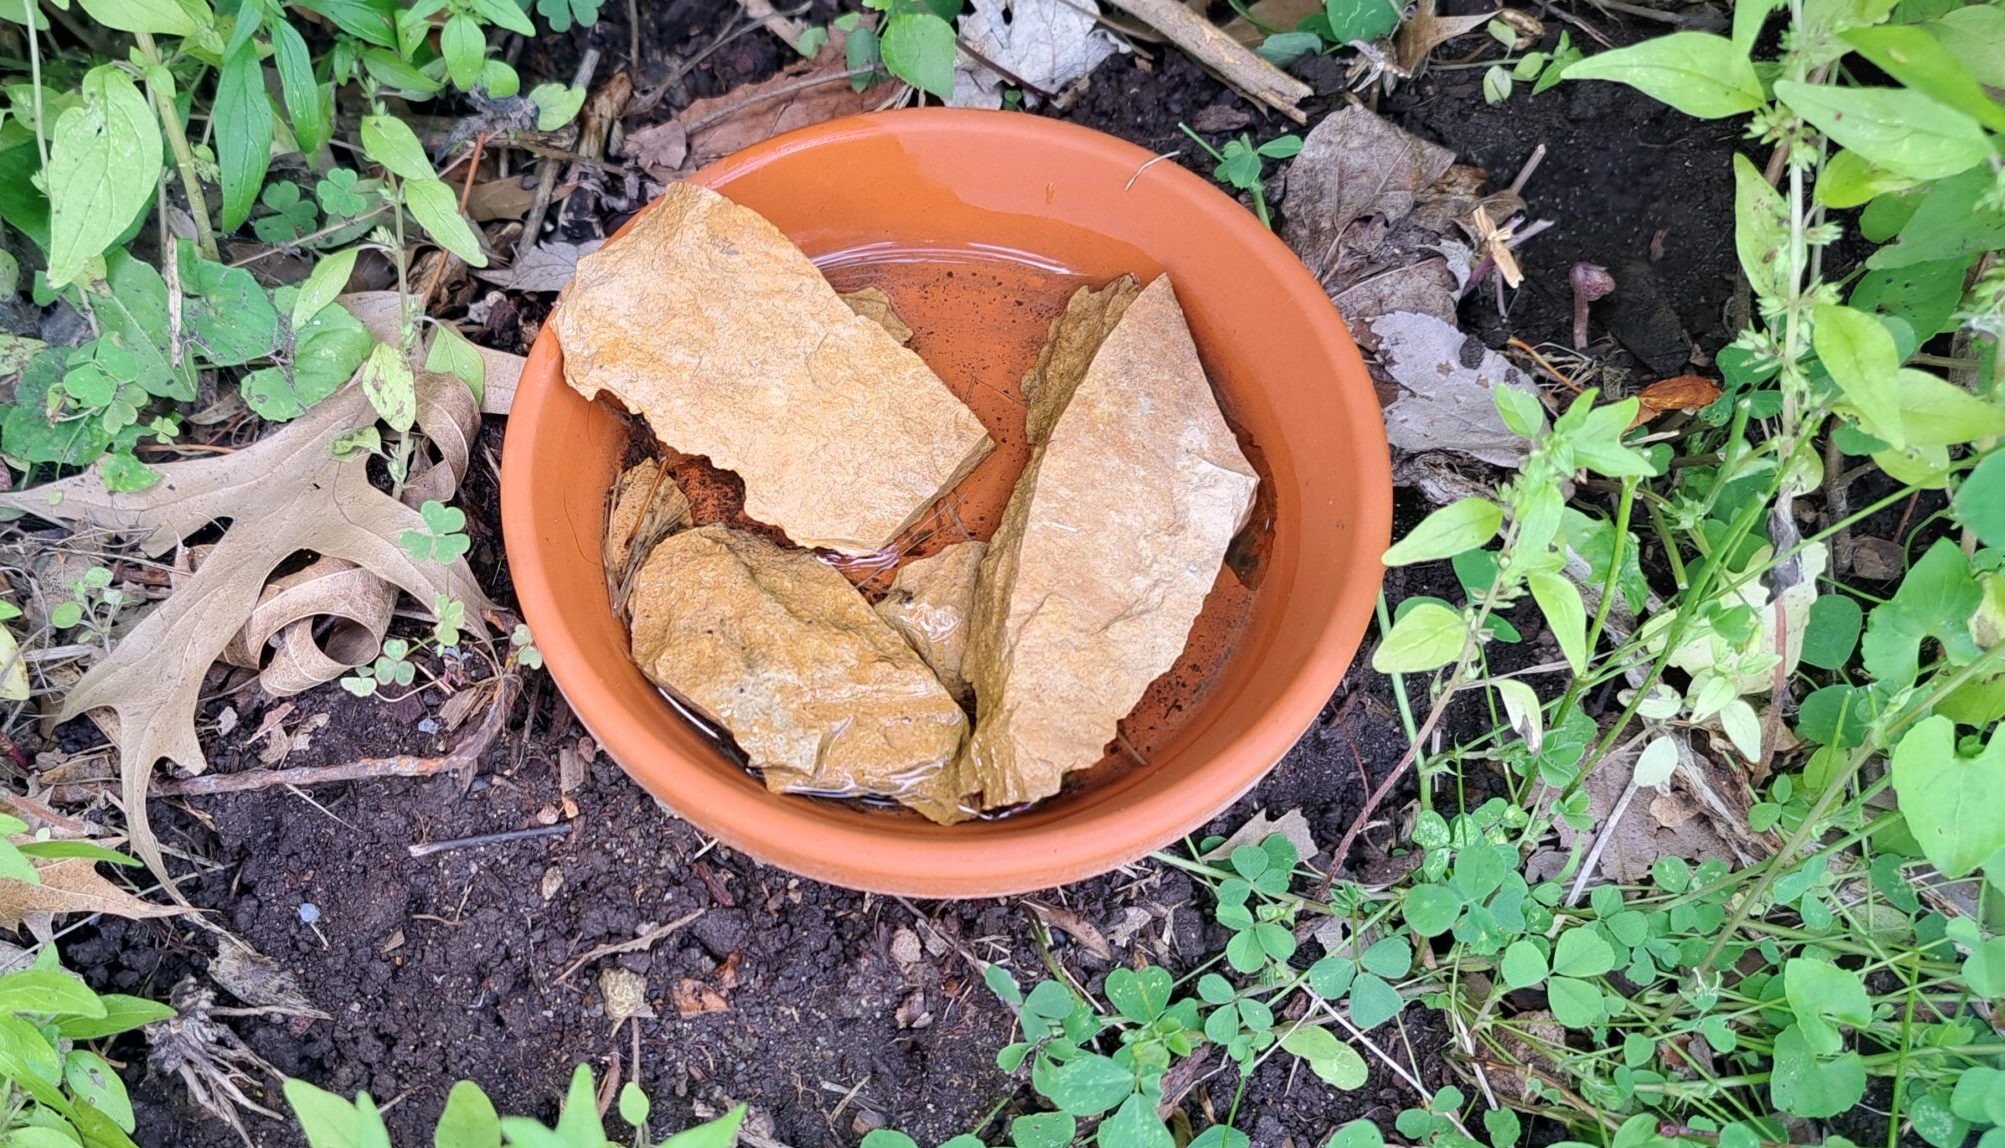
Creating a safe water source for pollinators is simple and rewarding. Start by choosing a good location—if you’re on a balcony or deck, place your water dish near potted plants. In a yard, look for spots with high insect activity, such as near a log pile, compost area, or bare soil. Use a shallow container like a dish, plate, or birdbath, and fill it with water. To make it safe, add pebbles, marbles, or small sticks so pollinators have a place to land and perch while they drink, preventing them from drowning. Be sure to keep the water fresh by changing it every couple of days, which also helps prevent mosquitoes from breeding. 

Add a Pond

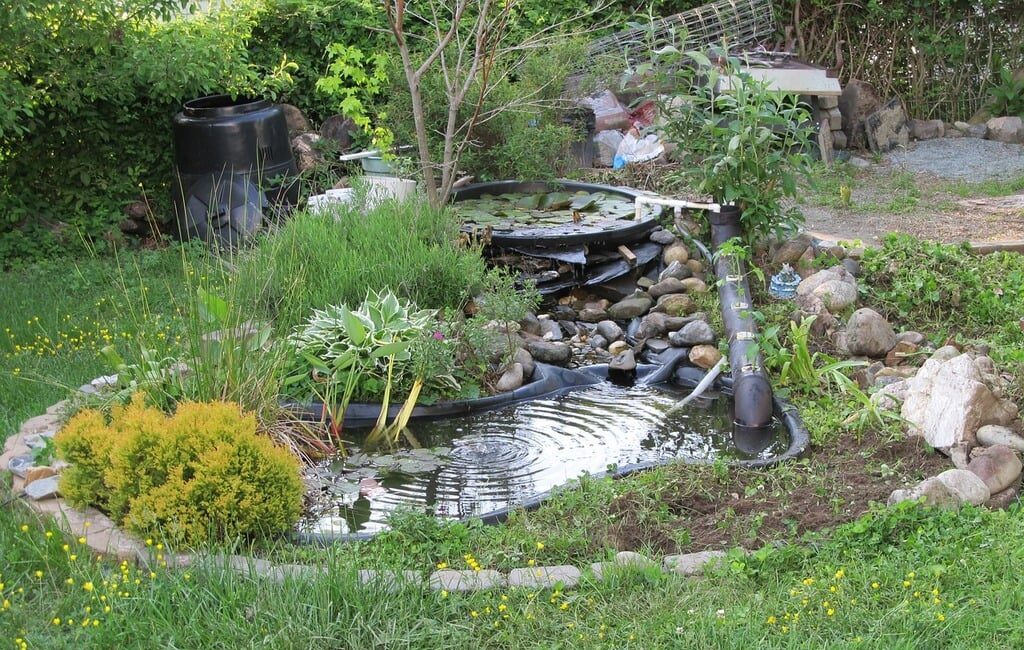
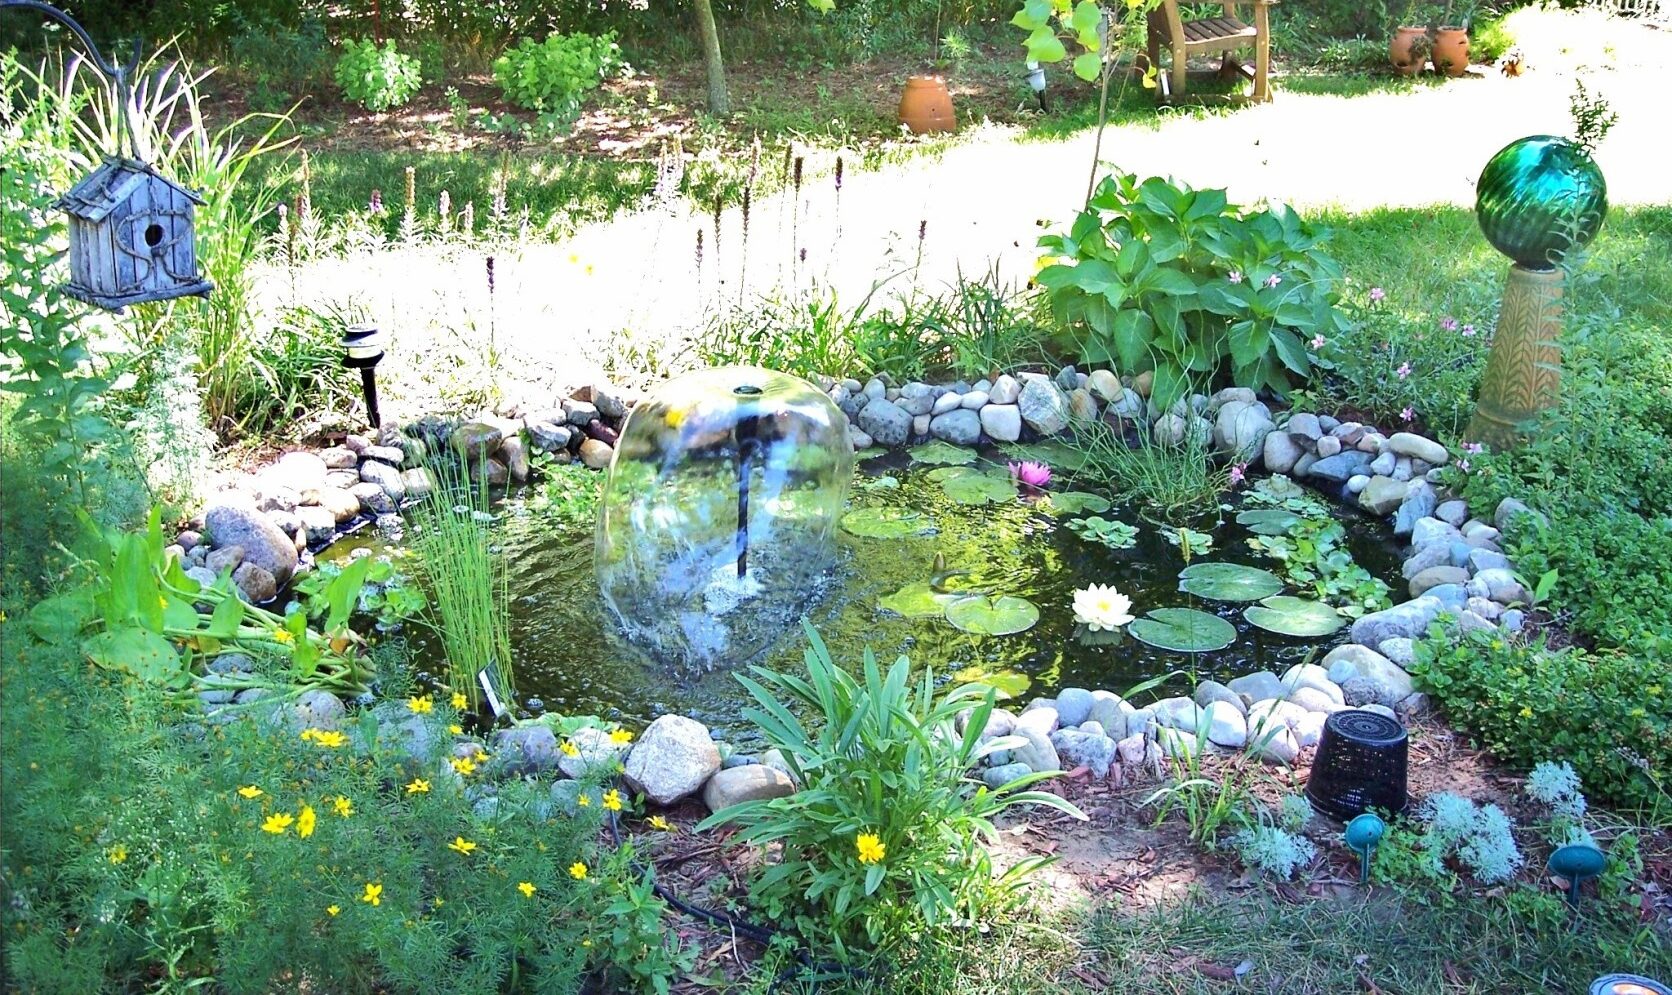
If you have some space, consider installing a pond for a larger-scale impact. A small backyard pond can support a surprising amount of biodiversity, such as birds, frogs, and rabbits.  You don’t need a big yard or fancy equipment to build one. With a bit of planning, some basic materials, and a little time, you can create a thriving mini-ecosystem right outside your door.

Start by choosing a location that gets partial sunlight—too much sun encourages algae, while too little limits plant growth. Avoid areas where rain runoff collects, as it may carry pollutants like pesticides.

Next, dig a shallow hole with gently sloping sides and varying depths (12–24 inches is ideal). Include a shallow shelf or area near the edge where insects and birds can safely access water. Line the pond with a flexible pond liner or use a pre-formed plastic basin. Secure the edges with rocks, bricks, or soil to keep it in place.

Fill the pond with water, ideally rainwater. If using tap water, let it sit for a day or two to allow chlorine to dissipate. Add rocks, logs, or branches around and in the pond to provide perches and hiding spots. Make sure there’s a gentle ramp or slope so animals can get in and out easily.

Include native aquatic plants, like duckweed, pickerelweed, or blue flag iris. They help oxygenate the water, provide shade, absorb excess nutrients (which prevents algae), and create habitat. Avoid adding fish, as they can eat tadpoles, insect larvae, and eggs.

You can also add a small fountain or dripper. Moving water helps keep mosquitoes away and oxygenates the pond. Just make sure it’s gentle—pollinators and frogs prefer calm areas.

Once set up, let nature take over. Within days, you can spot dragonflies, bees, or even frogs visiting your new mini-ecosystem. Keep the pond free of chemicals and avoid over-cleaning—natural debris helps balance the habitat.

A small pond can have a big impact. With just a little effort, you can turn a corner of your yard into a thriving wildlife refuge.

Now get out in your yard and help save the pollinators!

Create a Native Plant Sensory Garden!

Create a Native Plant Sensory Garden!

Spring is around the corner and that means it’s time to plan our gardens! A fun garden to add to your yard is a sensory garden. A sensory garden involves all of your senses (taste, touch, smell, sound, and sight) making it a great learning opportunity for young children,  adults with mental disabilities, or really anyone! It stimulates your mind and allows you to connect with nature. These are the plants I would use if I wanted to create an Iowa native sensory garden!

Rattlesnake master

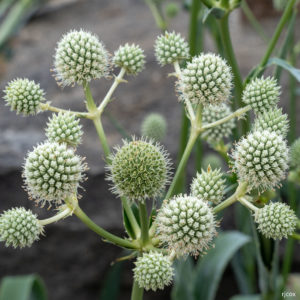
Rattlesnake Master Eryngium yuccifolium

Sense: Touch

This fun-looking plant would be perfect to stimulate your sense of touch, especially as fall approaches and it becomes more prickly. They are the larval host plant for Eryngium Stem Borer Moth and the Flower Feeding Moths. This wildflower is mostly pollinated by nectar eating wasps.

Plant Needs:

  • Full sun
  • Moist to medium soil
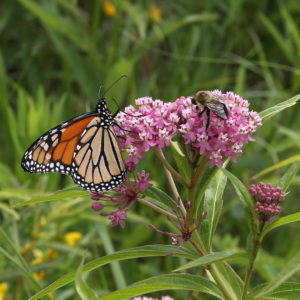
Monarch and Bumblebee on Swamp Milkweed

Swamp Milkweed Asclepias incarnata

Sense: Smell

This plant is the host plant for the Monarch Butterfly and is a brilliant purple when in bloom. The blooms smell like bubblegum! 

Plant Needs:

  • Full to part shade
  • Moist soil
Narrow-leaved purple coneflower

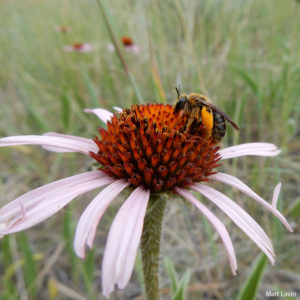
Pale Purple Coneflower Echinacea pallida

Sense: Touch, Sight, Taste

Pale Purple Coneflower is native to most of Iowa whereas Purple coneflower is more of a garden variety and not native to Story County. The brilliant purple petals are used for herbal teas. The seed head is spikey so use caution when touching.

Plant Needs:

  • Full to part sun
  • Medium to dry soil

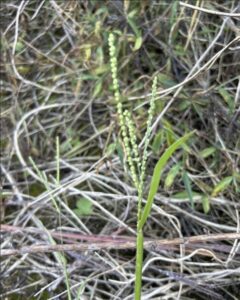
Bead Grass Paspalum setaceum michx

Sense: Touch

Bead grass is super fun to seed harvest! the little seeds are like seed beads and you can just use your hand to strip the seeds off.

Plant Needs:

  • Full sun
  • Warm season grass
  • Dry soil

Gray-headed Coneflower Ratibida pinnata

 Sense: Smell, Sight

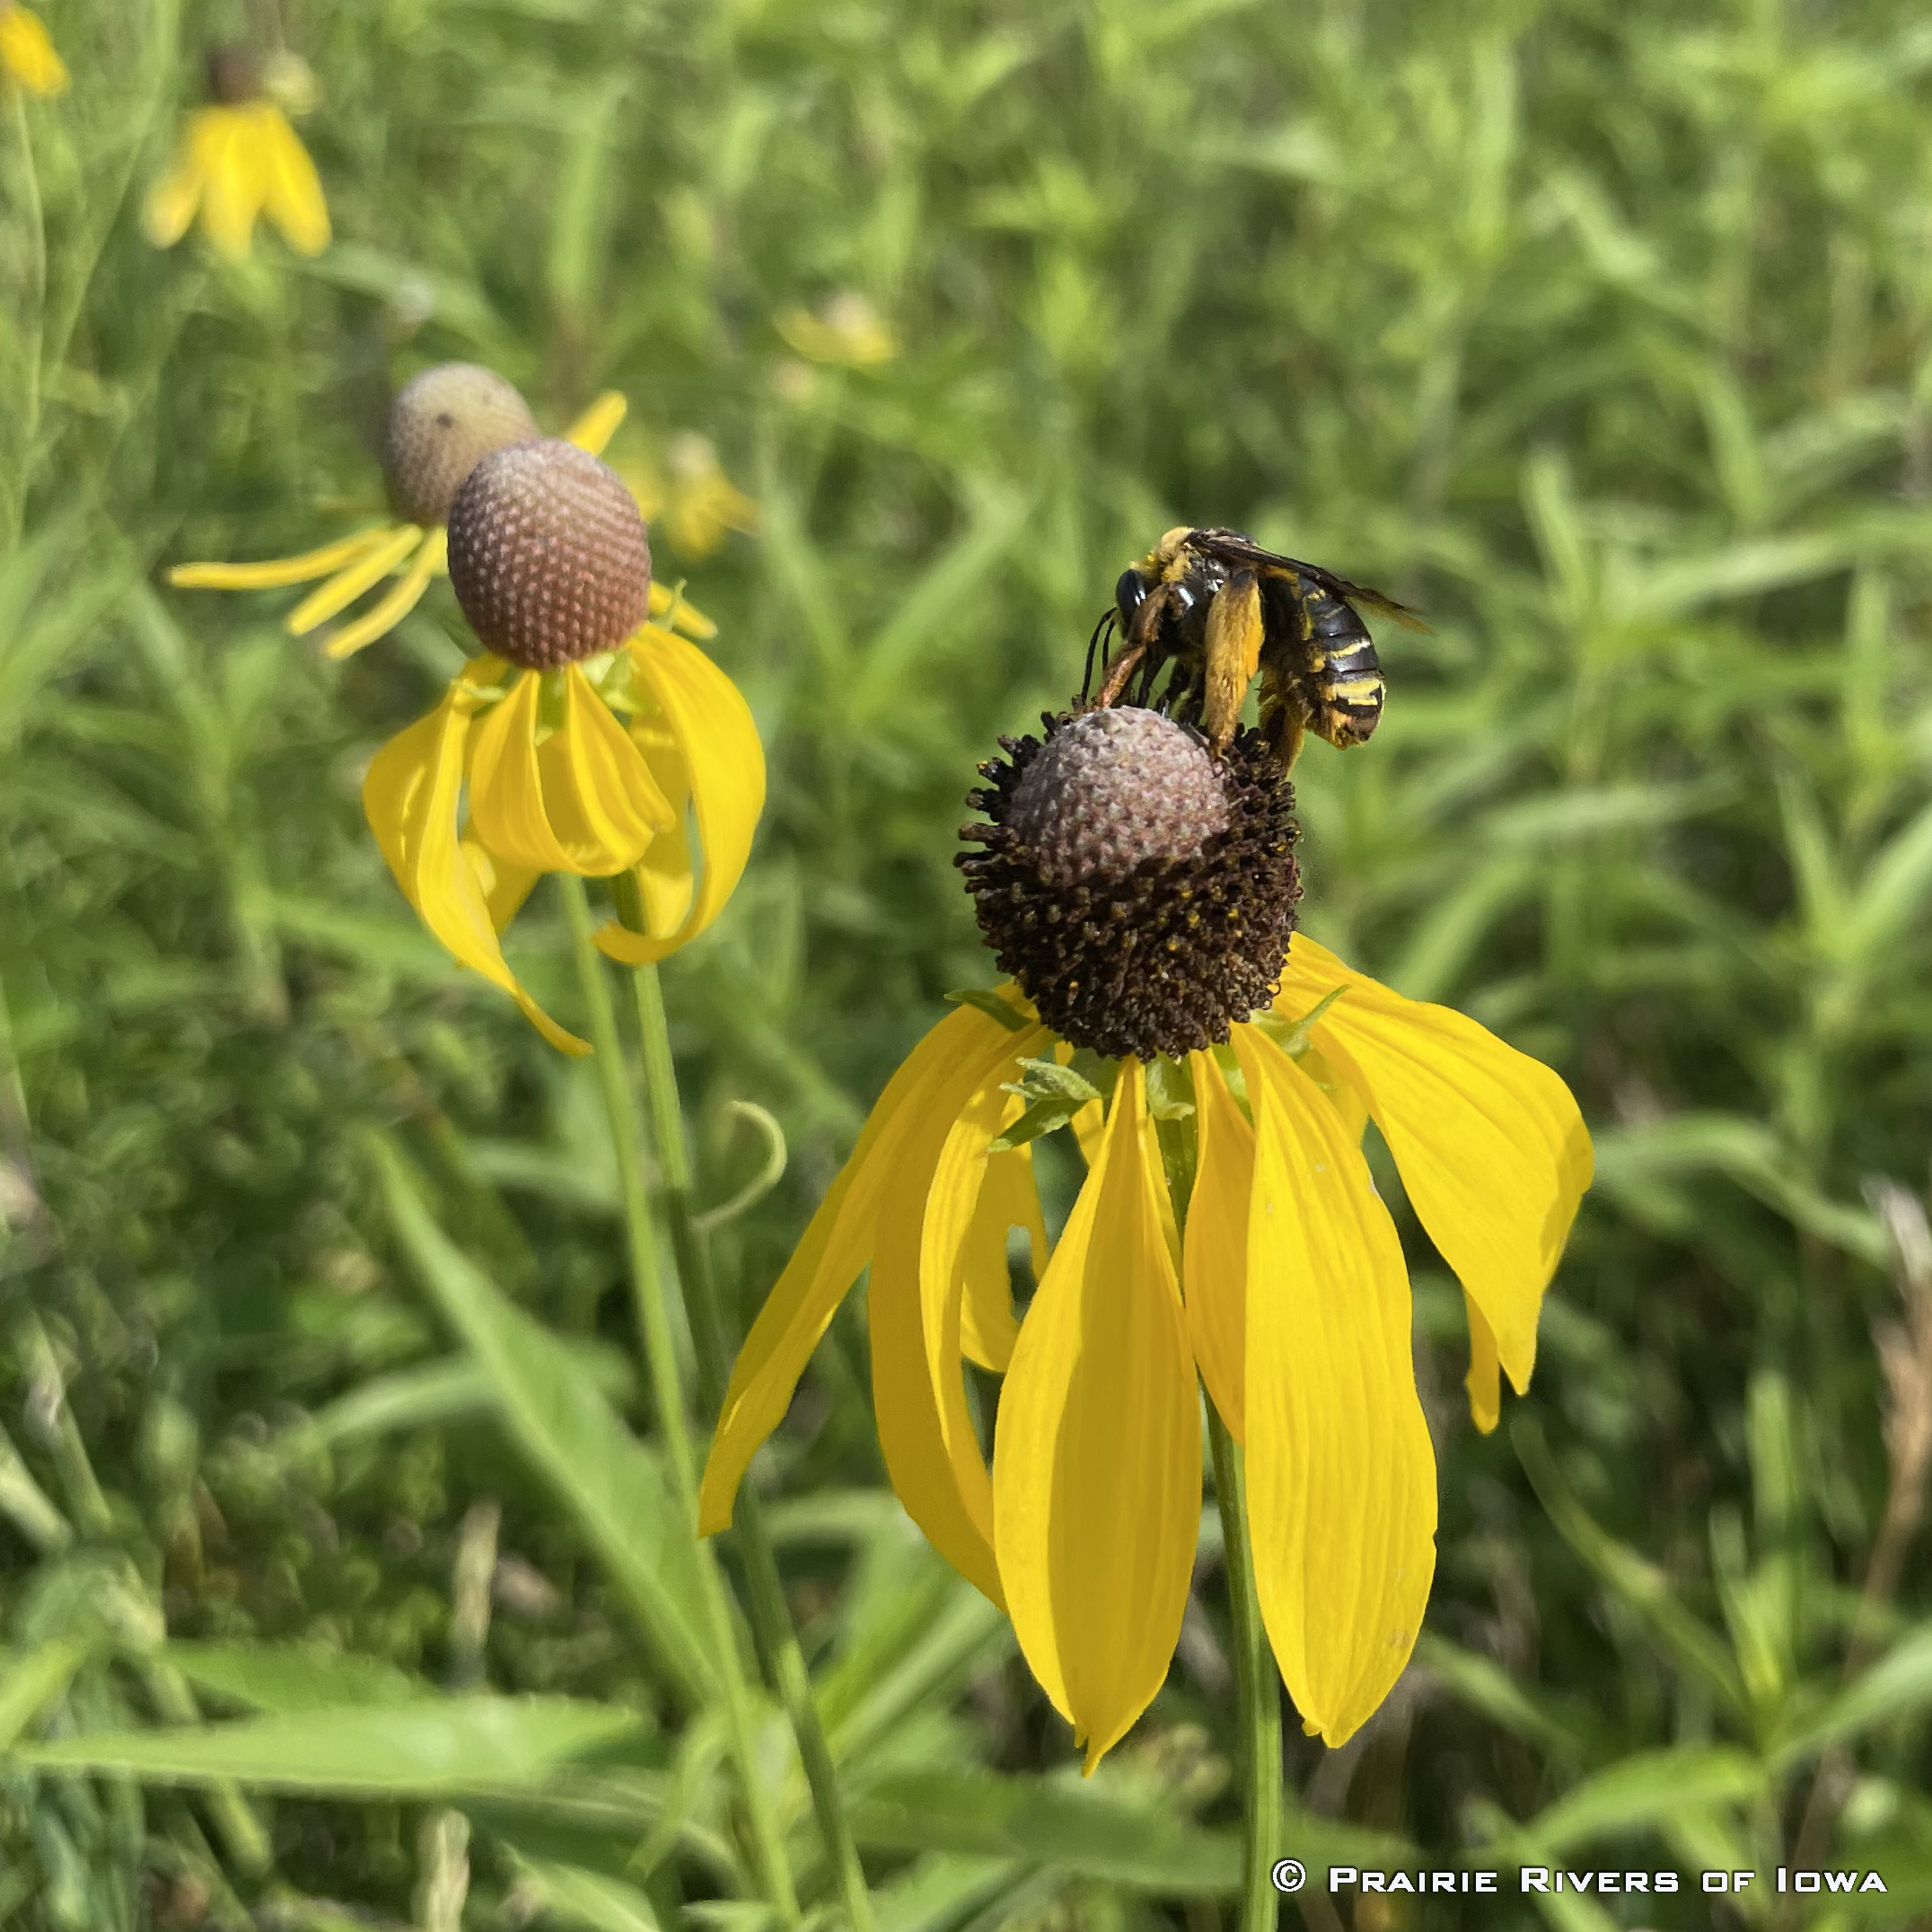
These yellow flowers are the larval hosts of the Wavey Lined Emerald Moth. Long Horned Bees love Gray headed Coneflower and can be seen covered in pollen on top of them.

Plant Needs:

  • Full sun
  • Dry soil
Bee balm

Bee Balm Monarda Fistulosa

Sense: Taste

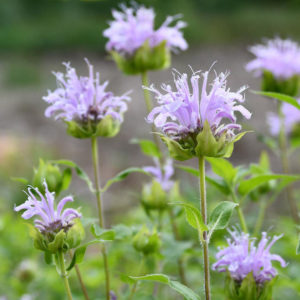
They are a pollinator favorite and one of the best forage plants for bumble bees. they are the larval host plant of Hermit Sphinx Moths and Snout Moths. They are in the mint family and have a square stem. The petals also taste minty and can be made into a tea.

Plant Needs:

  • Full to part sun
  • Prefers dry soils
Bee balm

Wild White Indigo Baptisia alba

Sense:  Sound

They are the larval host plant of the Slouded Sulpher butterfly, Genista Broom Moth, and Black-Spotted Prominent Moth. Bumble bees are the primary pollinators of wild white indigo.

Plant Needs:

  • Full to part sun
  • Prefers dry soils

Now get out there and grow some native plants! Don’t forget to tag Prairie Rivers in your native gardens on Facebook.

The Good, the Bad, and the Alternatives to No Mow May

The Good, the Bad, and the Alternatives to No Mow May

A long-horned bee visits a coneflower.

If you’re involved in any kind of pollinator or wildlife hobbies, you’ve probably heard of “No Mow May”. An initiative that started in the United Kingdom, No Mow May is a campaign aiming to encourage people to stop mowing their lawns during the month of May to help pollinators. The idea is that leaving your mower parked for a month in spring will allow dandelions and other lawn-associated flowers to grow, providing food for emerging pollinators at a time when there aren’t many flowers blooming yet. This sounds easy and beneficial, but is it really? Are there better options, or is this the answer to pollinator-friendly yarding? Let’s mow through the jargon, discuss different viewpoints, and offer simple alternatives.

There are many positive and negative opinions surrounding the No Mow May campaign.

Let’s start with the positives:

  • No Mow May is a catchy slogan.
  • It allows dandelions, clover, violets, and other flowers to bloom.
  • Generalist bees, such as honey bees, may have more food options.
  • It keeps neighborhoods more peaceful.
  • You save money on gas, and maybe on fertilizers/pesticides as well.
  • 31 days of no fertilizers or pesticides is good for the environment (and water quality!).
  • Ground-nesting bees may be disturbed less.
  • You’re contradicting the status quo about what yards “should” look like.

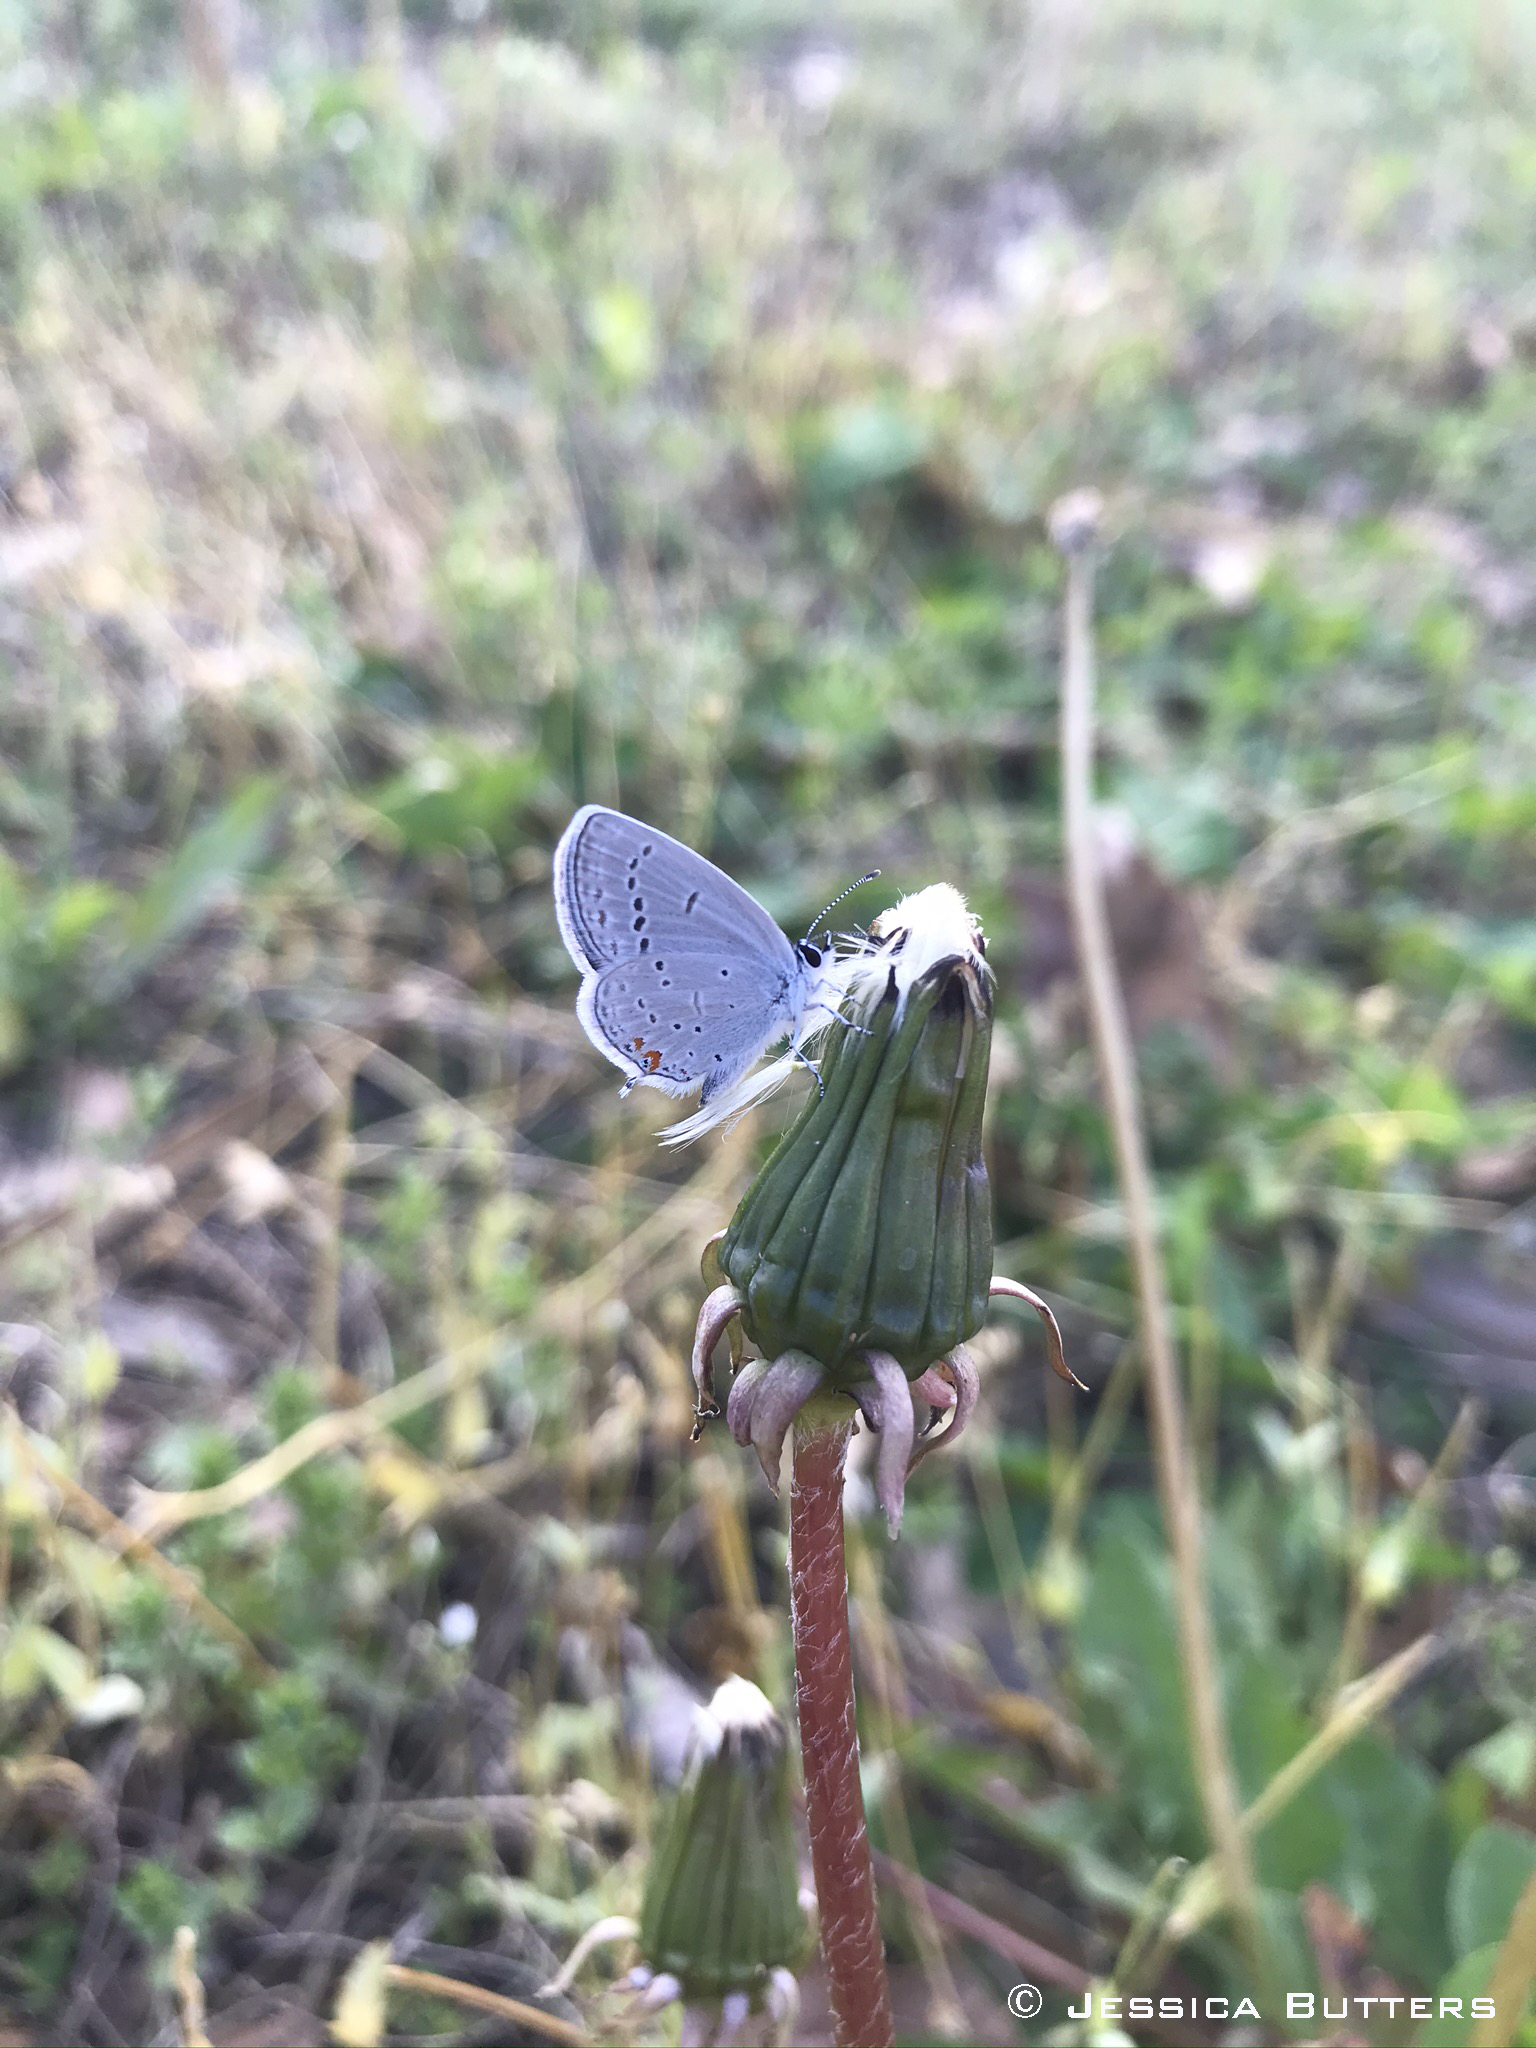
A hairstreak butterfly on a dandelion.

Now for some cons to consider about No Mow May:

  • It’s only for 31 days. Pollinators are active at least from April to October (which is 184 days).
  • Only honey bees and other generalist bees can benefit.
  • You may spread invasive species such as dandelions and dutch white clover.
  • Dandelion and clover provide sub-par nutrition compared to native flowers.
  • Weeds can perpetuate the image that eco-friendly lawns are just careless and messy.
  • It may upset your more traditional neighbors.
  • Some may use more herbicides after No Mow May to get their lawn “back to normal”.
  • Cutting a large amount of grass length in one go can stress the lawn, if you keep it.
A lucky four-leaf clover.

A mining bee on a dandelion.

Many articles will discuss these different viewpoints, but few tell you exactly how to start a pollinator garden. Or they do tell you, but it’s pretty heavy reading, or tells you to start in fall. This article is for those needing simple steps and instant gratification. While yes, in most cases it is best to start in the fall (for seeding), if you’re willing to buy potted plants and plugs you can get outside now, while you’re excited to, and have some happy pollinator plants this summer. We’ll start with steps to selecting plants and container gardening, and then dive into in-ground gardens.

Luna Moth

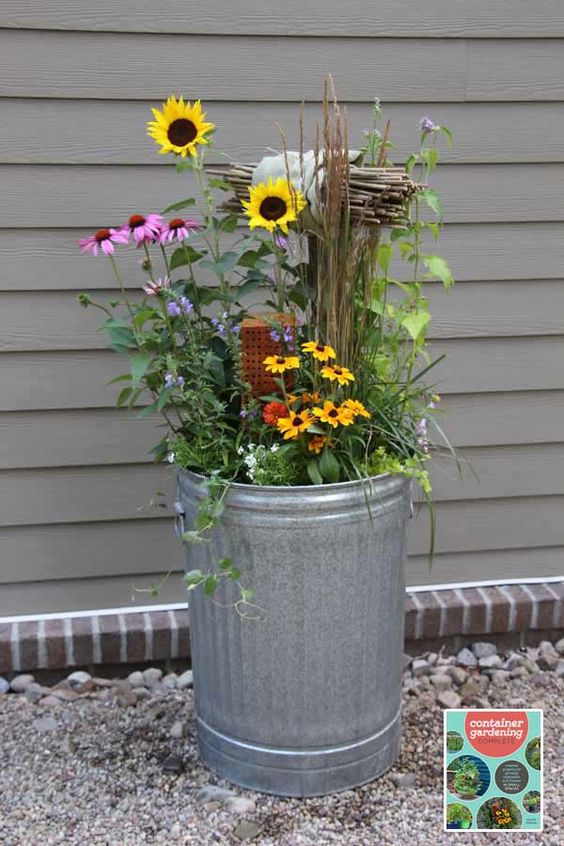
A pollinator container garden.

Start easy with container gardening

The easiest thing you can do is to buy a potted plant and stick it on your porch or patio. You probably do this already – why not choose one that will make both you and pollinators happy? To start considering which plants to bring home, first ask if the store or nursery has any certified USDA organic plants; if they do, these plants are less likely to make pollinators sick as they will have little to no harmful chemicals. Next ask if they have any native plants.

The art of observation

Once you are in the organic and native section (or sadly, in a random flowering section because there are no such plants available), the key to narrowing down the plants you should get is observation.  Walk slowly through your plant options and watch the plants to see which ones are visited by pollinators. Those are the plants you want to look at. You may notice that nothing ever visits a pansy or petunia, but sunflowers or tube-shaped flowers are all a-buzz. While it is best to buy native plants, some plants such as irises and sedum will attract pollinators even though they are in a pot, and you can easily find them at local nurseries and big box stores (keep nonnatives in a pot to keep them from spreading). 

Cultivars and creepers aren’t keepers

Be mindful of plants labeled as “double bloom” or ones that have fancy names, even if they look like a native plant. These are likely cultivars, and pollinators won’t visit them very much, as those extra-big flowers normally don’t have any pollen or nectar. If they do have some sort of food, pollinators have a hard time pushing through those extra petals to get to it. Try to stay away from anything that has the word “creeping” or “spreading” in its name, and check the label to see if it’s “aggressive” or needs a large area for its “spread”. This will keep you from bringing an invasive plant home that could escape your patio. Do keep in mind, however, that it’s going to be a lot more fun for you if you buy native plants, as they will likely attract many more pollinators! Lastly, try to choose at least three flowers – one that is currently in bloom, one that will bloom in summer, and one that will bloom in early fall. This will ensure you are supporting pollinators throughout the year, and also allows you to enjoy flowers during the entire growing season.

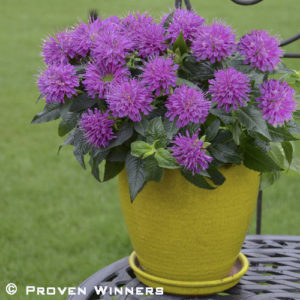
Large flowers and unnatural color, with the name “Pardon My Purple”  signify a cultivar.

Pots are easy; finding native plants isn’t

It isn’t as easy to find potted native plants as it is nonnative plants, but it’s better than it used to be! Semi-local native seed companies such as Allendan Seed Co. and some local nurseries may sell native plugs during the growing season. You can also scope out Facebook for local native plant swaps. When buying or swapping plants, ask them if they are likely to bloom this year or the next; some perennial plants take two years to bloom, even if you buy a plug and not seed; it’s good to set your expectations. Also ask where the person got the seed to grow the plant, or if it’s been treated with chemicals recently. If they can’t answer these questions, find a polite way to exit. In terms of native plants that grow well in a pot, beardtongue is an earlier bloomer, and bee balm as well as black-eyed Susan are great plants that will bloom later on. 

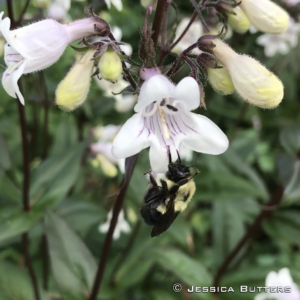
Bumble bees love beardtongue flowers.

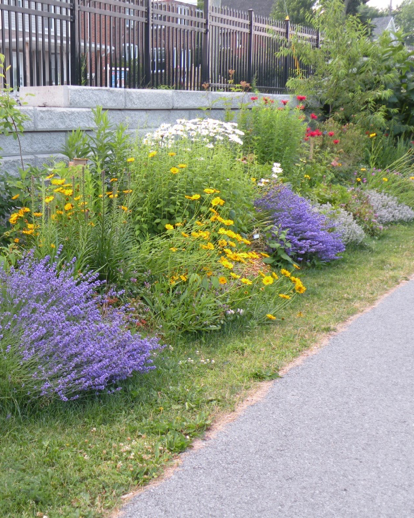
Borders are an easy space to add pollinator habitat.

Gardens attract and support the most pollinators

Carving out a piece of your lawn to create a garden is the best thing in the world that you can do for pollinators. Start a small, manageable garden this year with some plugs from a reputable plant supplier (Allendan, Iowa Native Trees and Shrubs, Blooming Prairie Nursery, Prairie Moon Nursery) for instant gratification. You can create a small garden on the side of your house that’s annoying to mow. Or maybe there’s an awkward corner in the back of your yard that the kids don’t really play in. Those areas are great places to start.

Natives are a must

Choosing plants for a garden follows the same rules mentioned above for container gardening, except it is much more important to have native plants that were grown relatively local. Putting a plant of dubious quality in the ground lowers the chance it will survive and flower for you later. Or worse, planting a nonnative plant in the ground could lead to it doing too well and spreading across your yard, forcing you to hack away at it all next year (remember those lilies of the valley your friend can’t get rid of? You don’t want that). 

Replace the grass

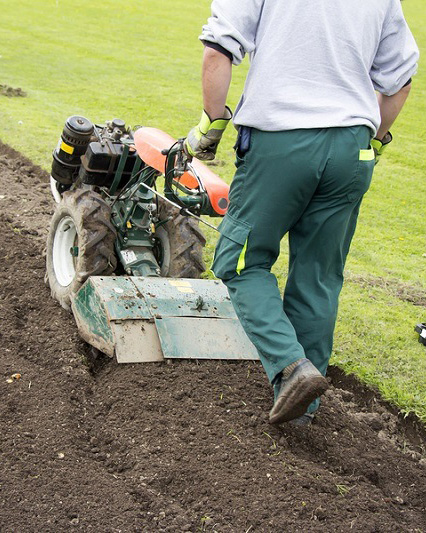
To start planting your native plugs, you’ll have to kill the grass. A good tilling deep into the turf is a quick way to get started. A few rounds of glyphosate or roundup will also do the trick, but that’s a pretty nasty chemical. Covering the area with cardboard and compost on top for a year is a great way, but it’s obviously a better method for a fall planting rather than an immediate one. After you’ve removed the grass, plant your plugs. Grouping the same flower species together will attract more pollinators and make the garden look more intentional. Choosing different flowers that have different shapes and colors will attract and support a higher diversity of pollinators. After planting, water your new garden well for the next few weeks! Leaving some bare dirt may encourage native bee nesting; however if you’d like to mulch, use natural, undyed and untreated wood chips and leaves to keep turf grass and weeds at bay. Adding a natural wood border or rocks can add more nesting habitat. Lastly, be sure not to fertilize or use pesticides on or near your pollinator garden. Fertilizer will only encourage weeds, and pesticides will harm any pollinators that visit.

Tilling is an easy way to remove grass.

Enjoy your handiwork!

Creating a pollinator garden is infinitely more rewarding than merely pausing the mower during May. By adding native plants to your yard, you will not only start seeing bees, but possibly new kinds of birds, butterflies, fireflies, and other wildlife. You’ll be able to enjoy your handiwork for not one month, not two, but years to come.